• Welcome to the CaliforniaSpecial.com forums! - You are currently viewing the forums as a GUEST. To take advantage of all our site features, please take a moment to join our community! It's fast, simple and absolutely free.

    If you have problems registering or can't log into your account, please contact Admin.

    Please Note: If you are an existing member and your password no longer works, click here to reset it.

. Photo Your Winter Fun

joedls

Well-known member
Joined
Mar 12, 2005
Messages
1,980
Location
Lake Forest, CA
Joe,
17.5 by 10.25. Napa Gold #6323. Fits a 1995 Corvette. I looked long and hard for an air cleaner that would kinda match the rectangle over the top of the 8 stacks. This is very close! It is also available through K&N.

Rob


I'll have to measure my Cobra Jet scoop. I'm thinking that will just fit under it. Is that measurement for just the filter or the entire assembly.
 
Last edited:
OP
OP
R

robert campbell

Well-known member
Joined
Apr 10, 2007
Messages
4,321
I'll have to measure my Cobra Jet scoop. I'm thinking that will just fit under it. Is that measurement for just the filter or the entire assembly.

Joe
The air cleaner, but I think you can get it under the CJ scoop!! I have some of the plates left that fit the air cleaner and you can trim them down if need be.

Rob
 

Ruppstang

Well-known member
Joined
May 22, 2009
Messages
3,034
Houston we are all most ready for ignition.
I had a good day yesterday I got the engine and transmission in the car and mostly connected. I can't wait to drive her.
Marty
 

Attachments

  • 68 GT350 restoration 008.jpg
    68 GT350 restoration 008.jpg
    89.1 KB · Views: 32
  • 68 GT350 restoration 009.jpg
    68 GT350 restoration 009.jpg
    103.1 KB · Views: 31
OP
OP
R

robert campbell

Well-known member
Joined
Apr 10, 2007
Messages
4,321
Marty,
You will have it dialed in just as fast! But it sure is fun and I love breathing live into old cold iron for the first time in a long time. It is why I do what I do!!! I truly wish I could be there to hear her rumble into life again!!

Rob
 
OP
OP
R

robert campbell

Well-known member
Joined
Apr 10, 2007
Messages
4,321
Not sure how fun this is... 3.5 hours of prep and masking to apply new interior paint. Marty, you see why I have your template for door grills. To cover up some bad speaker holes....


Quarter interior pieces hand some typical wear spot rust....


Turned out very nice I think. Grills will cover the holes and new deluxe door panels this week!! Dark blue inserts with light blue and new dark blue arm rests and door pulls. Lift is great for raising to a height to even paint the bottom of the doors. Any paint you see on the weather strip was from the idiot that painted them and over the rust that soon surfaced!!


OP
OP
R

robert campbell

Well-known member
Joined
Apr 10, 2007
Messages
4,321
Marty, I pale in the shadow of you and Neil!!! But I will tell you the time I spent at the top of the doors next to the felt trim to clean, de-rust, and mask was a long time!!! Prepped without sand paper. Just wire brushes.... Did not harm the texture, but of note, the top of the driver door has little texture left due to the arms of many a driver on a sunny day!! A wear mark of love!!! The rest cleaned up very easy (lots of paint over surface rust) and the masking took for what seemed forever!!

I think the owner will love it!!! It is a very nice 68 coupe. Can't wait to drive it after I fixed the exhaust donuts and the clicking speedo cable!!!

I want you to adopt me so I can drive the Shelby!!! She looks "bitchin"!!!!

Rob
 

Ruppstang

Well-known member
Joined
May 22, 2009
Messages
3,034
Rob working on others cars is difficult because you have to work with what they bring you and do what they ask even if it is not the best thing. I admire you determination to do it as best as can be done.The work on the Shelby has been tough for me because we do not have the $$$ to restore it properly so I am only fixing what I have to make it a safe fun driver. Some day we will strip it to a shell and give it a proper restoration. Till then we are going to drive it like a Shelby. Come by some time and we will check her out.
With the 350 rear axel I am not sure we will get to the west coast with it.
Marty
 
OP
OP
R

robert campbell

Well-known member
Joined
Apr 10, 2007
Messages
4,321
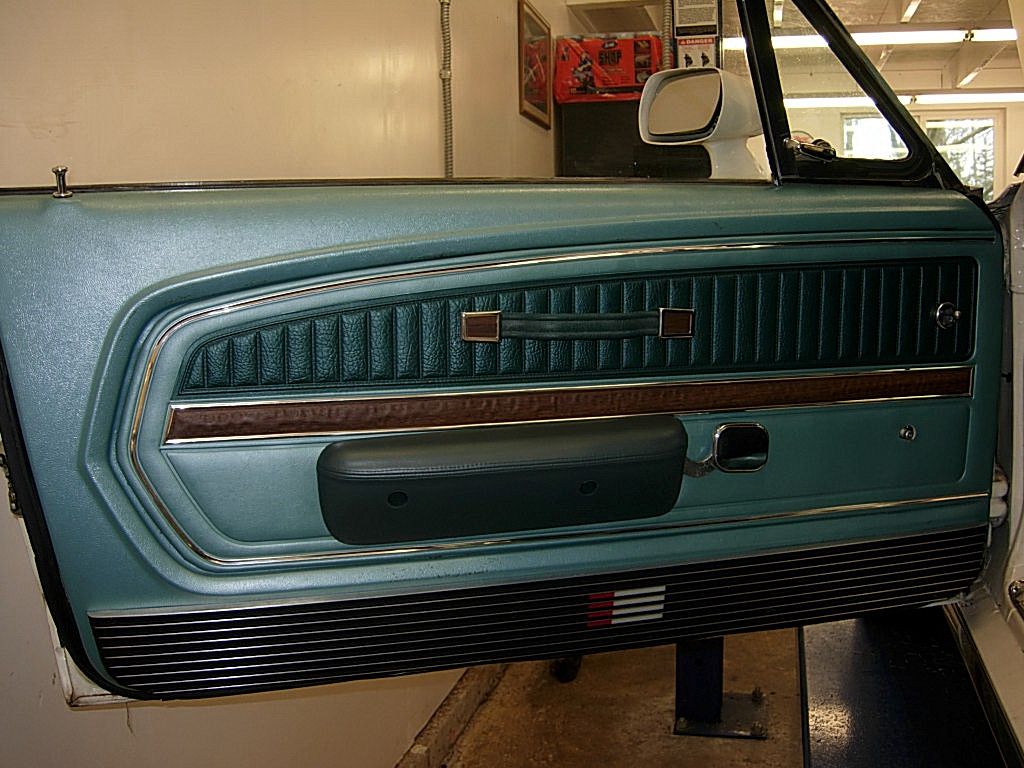
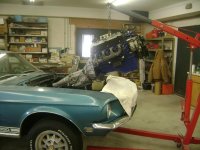
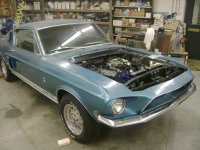
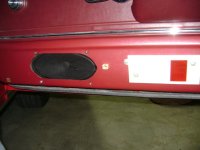
The 1968 Coupe left and back came the 1968 Fastback that I rebuilt the motor and tranny. He had bought all the parts for another deluxe door conversion, but this time with lights and he provided a set of 1967 factory door speakers. I have never seen a door with the speaker cut out, so I built a template that I transfer on to Marty's for other people to use. I am confident of the 4 mounting holes, but unsure of the cut out. It is a perfect mimic of the "oval" hole for a factory 4 x 8 Ford door speaker of the era.

Wired up the lights and they work perfectly. The speakers were old and broken, but I cut out the door and drilled the holes to fit them. What a pain to drill the hole in the door for the wiring to come out for the lights and the speaker. The body and the door are "dimpled" for the location of the holes to bring the wires in. But the door hole is on the front and in a bad spot to drill. I managed....

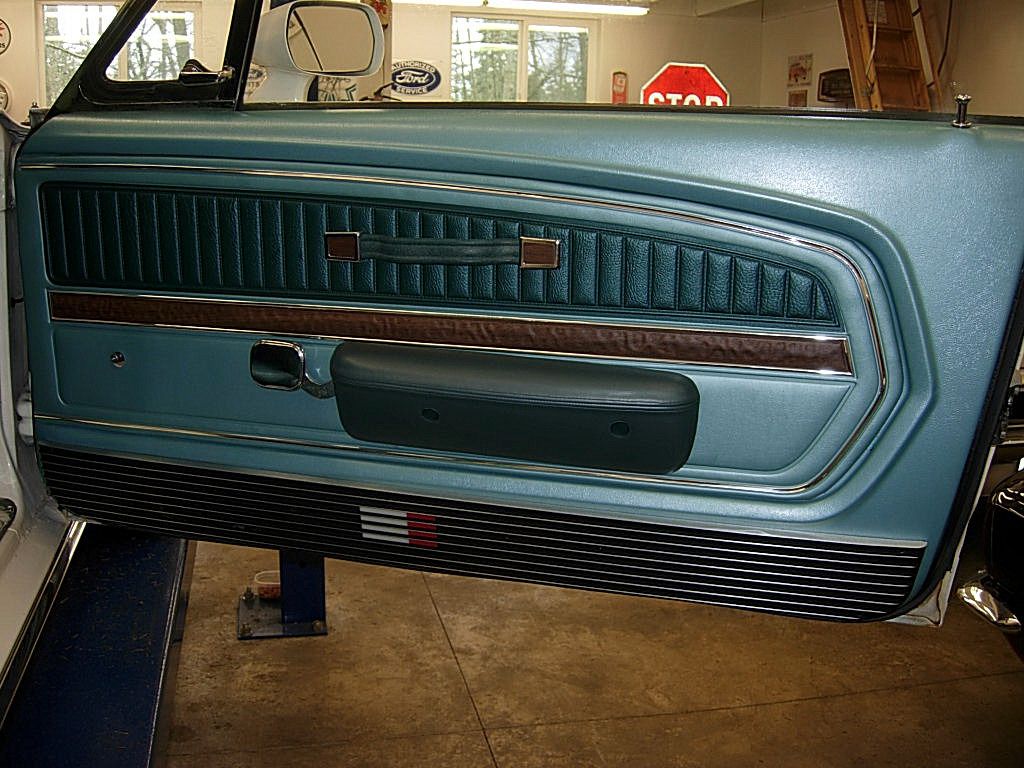
Marty, I also learned that the holes for the light mounting and the lens are not a "reverse" of the right side that you made the template for. You need to use it on the driver door upside down of course, but when marking the holes for bolting the lights on you need to flip it back to the same side as you did the passenger door with.. They are not a mirror so to speak if that makes sense.

The Fastback doors below. He needs two new window regulator handles. One is very long and now I know what Arlie was talking about!!! Your knuckles get ground into the grills!!! The other was from a coupe back window regulator!!!


Ruppstang

Well-known member
Joined
May 22, 2009
Messages
3,034
Here are some pics showing speaker installation and the original water shields that Ford used to protect the speakers.
 

Attachments

  • HCS Restoration 001.JPG
    HCS Restoration 001.JPG
    147.6 KB · Views: 25
  • 68 GT 350 010.jpg
    68 GT 350 010.jpg
    67 KB · Views: 34
OP
OP
R

robert campbell

Well-known member
Joined
Apr 10, 2007
Messages
4,321
More like spring fun!!!

Pictures of my brothers 1967 Fastback. Installed a retrosound radio, a new heater core, and a 6 gauge M P Products electronic dash with electronic programmable speedometer. also built a complete new hexagonal carb linkage with left and right hand heim joints. His old linkage was right hand thread on both ends and you had to drop one end of the shaft to sync the carbs. What a pain.

Anyone thinking about the M P Product dash cluster, call me to step you through the instructions and installation. More to it than meets the eye. Once done not a bad look and you have speedo, tach, fuel, voltage, oil, and temp gauges in one cluster.


Got a sign from my co-workers for my hobby business. "Triple B" was an old joke nick name that was for "big block bob". Due to the 428 Cobra Jet fetish I once had. It was meant to be condescending, but it stuck and I think it is funny!!!


OP
OP
R

robert campbell

Well-known member
Joined
Apr 10, 2007
Messages
4,321
Yes it does and it actually works pretty well. I am still dialing it in. Very smooth off idle and makes great power!

I what a car show hook!!!
 

68sunlitgold

Well-known member
Joined
Aug 20, 2002
Messages
1,358
Rob,
Very nice set up with your garage and I like the new sign!! So is the upper floor full of Mustang parts? Since I am still in the Air Force and traveling everywhere, my folks still hold onto all my parts, their storage space above the garage is full of my parts.


Doug
 

Attachments

  • garage.jpg
    garage.jpg
    84.5 KB · Views: 25
Top